Best of the
Best
Editors' picks and our top buying guides


Best of the
Best
Editors' picks and our top buying guides
Latest

Best Wireless Headphones for 2024
1 hour ago
Why the Cybersecurity Industry Is Obsessed With AI Right Now
1 hour ago
Switch 2 Will Be Officially Announced Before Next April, Nintendo Says
2 hours ago
Here's How to Get Affordable Eye Exams and Glasses Without Insurance
2 hours ago
I've Traveled All Over the World. These Are 7 Things I Always Pack
2 hours ago
Social Media Still Isn't a Safe Space for Children. A Crackdown Is Underway
2 hours ago
Best Solar Companies of May 2024
2 hours ago
Streaming This Week: 'The Iron Claw,' 'Mother of the Bride' and More
2 hours ago
NBA Playoffs 2024: How to Watch Cavaliers vs. Celtics, Mavericks vs. Thunder Tonight on TNT and Max
3 hours ago
Best Noise-Canceling Headphones Under $100 for 2024
3 hours ago
The 5 Best Multivitamins for Men of 2024
3 hours ago
The 3 Best Espresso Machines of 2024
3 hours ago
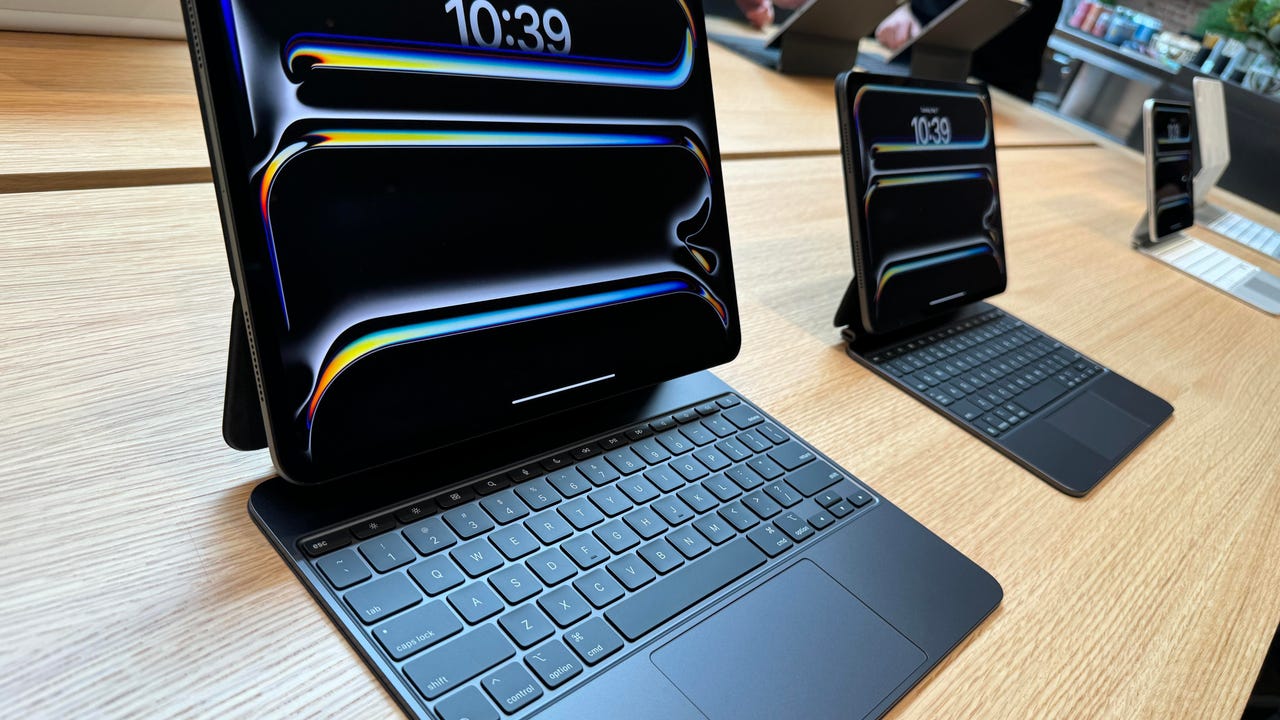
Hands-On With Apple's New iPads: My Take on the Fancy New Upgrades
3 hours ago
Best MagSafe Accessories for iPhone in 2024
3 hours ago
NHL Playoffs 2024: How to Watch, Second Round Schedule, Matchups, TV Times
3 hours agoMore to Explore
Reviews, advice and more from CNET's experts.


Get the best price on everything CNET Shopping helps you get the best prices on your favorite products. Get promo codes and discounts with a single click.
Add to Chrome - it's free!
Our Expertise
Expertise Lindsey Turrentine is executive vice president for content and audience. She has helped shape digital media since digital media was born.
0357911176
02468104
024681025
Tech


Upgrade your inbox
Get CNET Insider
From talking fridges to iPhones, our experts are here to help make the world a little less complicated.
Money


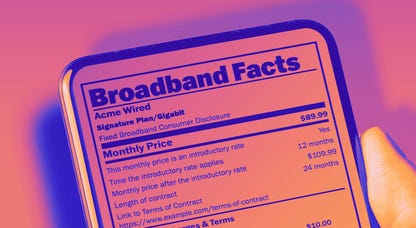
Crossing the Broadband Divide
Millions of Americans lack access to high-speed internet. Here's how to fix that.


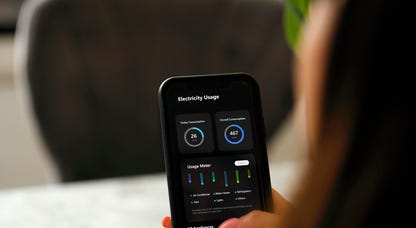
Energy and Utilities


Deep Dives
Immerse yourself in our in-depth stories.


Get the best price on everything CNET Shopping helps you get the best prices on your favorite products. Get promo codes and discounts with a single click.
Add to Chrome - it's free!
Internet


Sleep Through the Night
Get the best sleep of your life with our expert tips.


Get the best price on everything CNET Shopping helps you get the best prices on your favorite products. Get promo codes and discounts with a single click.
Add to Chrome - it's free!
Tech Tips
Get the most out of your phone with this expert advice.


Get the best price on everything CNET Shopping helps you get the best prices on your favorite products. Get promo codes and discounts with a single click.
Add to Chrome - it's free!

Home


Living Off Grid
CNET's Eric Mack has lived off the grid for over three years. Here's what he learned.