Best of the
Best
Editors' picks and our top buying guides


Best of the
Best
Editors' picks and our top buying guides
Latest

Google's Apparently Adding 'Emoji Audio,' Including a Fart Noise, to Android. Here's How to Use
14 minutes ago
Best Gel Mattress for 2024
30 minutes ago
'The Idea of You' Streaming on Prime Video: Release Date and Time
1 hour ago
LinkedIn Boards the Wordle Train and Launches 3 Online Games
1 hour ago
Best Buy and Walmart Knock 20% Off the Bose SoundLink Flex
1 hour ago
Samsung Plans New 'Premium' Smartwatches, Alongside Galaxy Ring
1 hour ago
Yep, Sea Moss Gummies Are a Thing Now: How They Work, Health Claims, Risks
2 hours ago
Best TV Deals: Save Big on Your Favorite Brands, Like LG, Fire TV and More
2 hours ago
TV in Disguise: Hisense releases CanvasTV starting at $1,000
2 hours ago
QLED vs. OLED: Here's the Difference and Why It Matters When You're Buying a TV
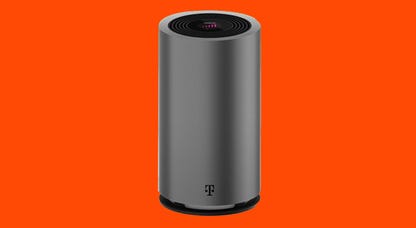
2 hours agoAT&T Turbo Is Official as Carrier Adds $7 Monthly Add-On for Priority Access to Network
2 hours agoThis Tracking Device Is on Sale for $16 and It Works With Your iPhone
2 hours ago
Fed Won't Budge on Interest Rates Until Inflation Is Conquered
2 hours ago
Claude AI's New iOS App, Team Tool Are Harbingers of AI in the Workplace
2 hours ago
Light Up Your Living Space With This Govee Floor Lamp, Now $40 Off
2 hours agoMore to Explore
Reviews, advice and more from CNET's experts.


Get the best price on everything CNET Shopping helps you get the best prices on your favorite products. Get promo codes and discounts with a single click.
Add to Chrome - it's free!
Our Expertise
Expertise Lindsey Turrentine is executive vice president for content and audience. She has helped shape digital media since digital media was born.
0357911176
02468104
024681025
Featured in
Tech


Upgrade your inbox
Get CNET Insider
From talking fridges to iPhones, our experts are here to help make the world a little less complicated.
Featured in
Money


Crossing the Broadband Divide
Millions of Americans lack access to high-speed internet. Here's how to fix that.


Featured in
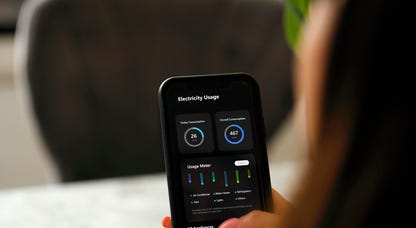
Energy and Utilities


Deep Dives
Immerse yourself in our in-depth stories.


Get the best price on everything CNET Shopping helps you get the best prices on your favorite products. Get promo codes and discounts with a single click.
Add to Chrome - it's free!
Featured in
Internet


Sleep Through the Night
Get the best sleep of your life with our expert tips.


Get the best price on everything CNET Shopping helps you get the best prices on your favorite products. Get promo codes and discounts with a single click.
Add to Chrome - it's free!
Tech Tips
Get the most out of your phone with this expert advice.


Get the best price on everything CNET Shopping helps you get the best prices on your favorite products. Get promo codes and discounts with a single click.
Add to Chrome - it's free!

Featured in
Home


Living Off Grid
CNET's Eric Mack has lived off the grid for over three years. Here's what he learned.